Clownacy
Member
- Messages
- 47
Since September last year, I've been working on-and-off on a Mega Drive emulator. It's not even close to being complete, but when will it ever be? So I figure that I might as well release it now, because there will always be some feature left to be implemented, or some game that doesn't work right. Waiting for it to be 'ready' is a fool's errand.
ClownMDEmu!
You'll never guess what the name's short for! :D
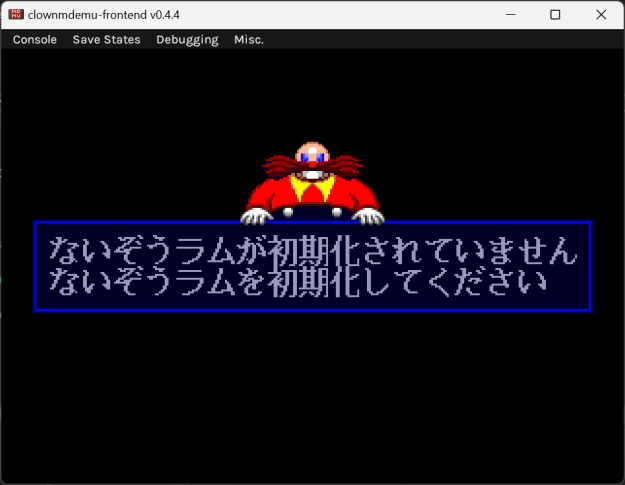
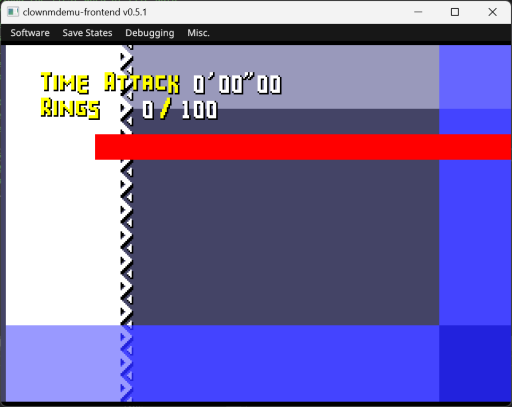
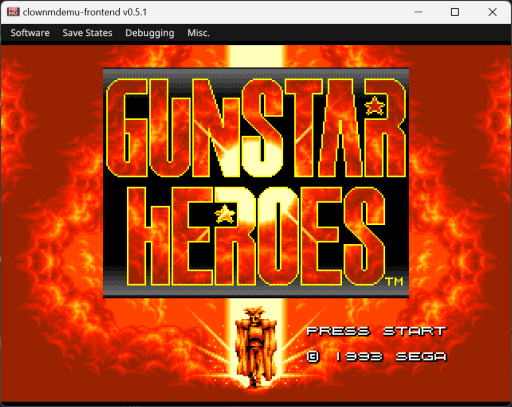
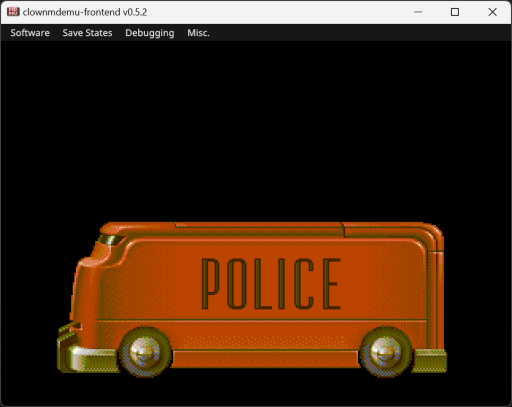
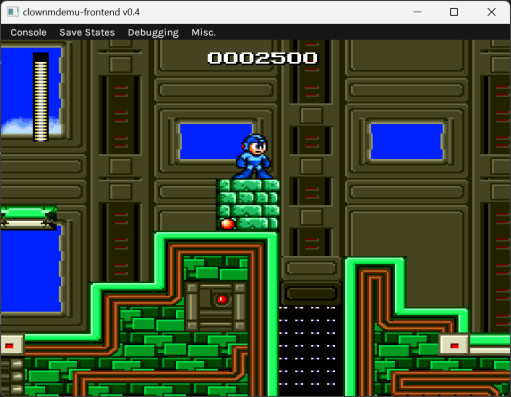
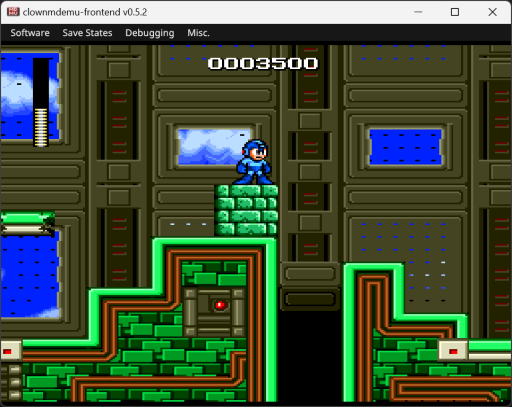
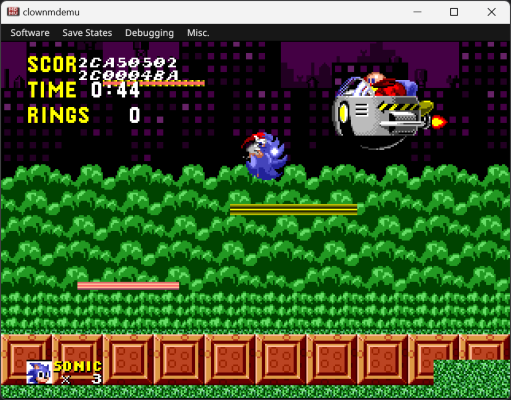
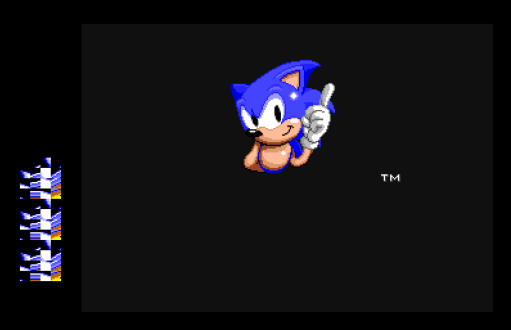
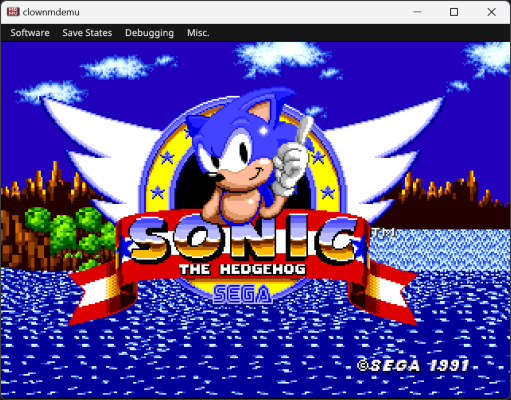
I haven't done a whole lot of testing with this, but it does appear to work with Sonic 1, 2, 3, & Knuckles, Puyo Puyo, and ROM-hacks like Sonic 2 Recreation.Sonic 3 is a little glitchy at the moment.
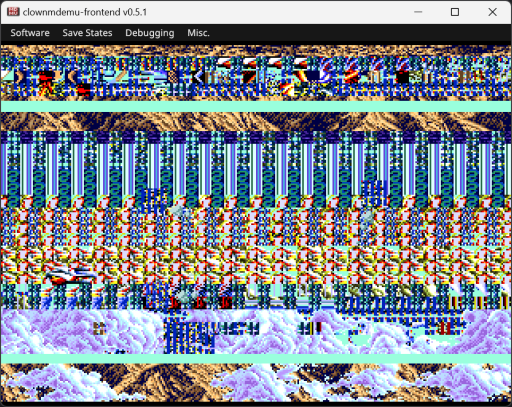
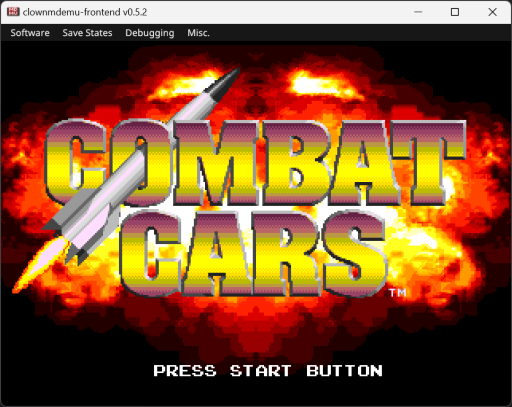
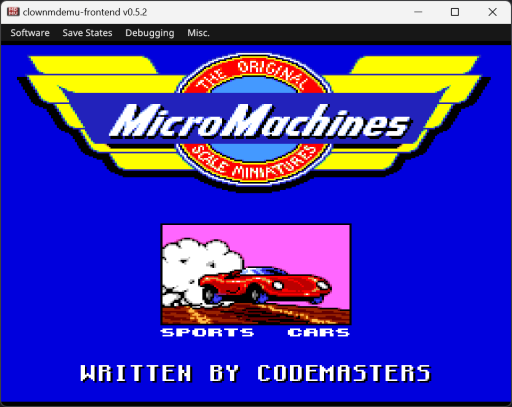
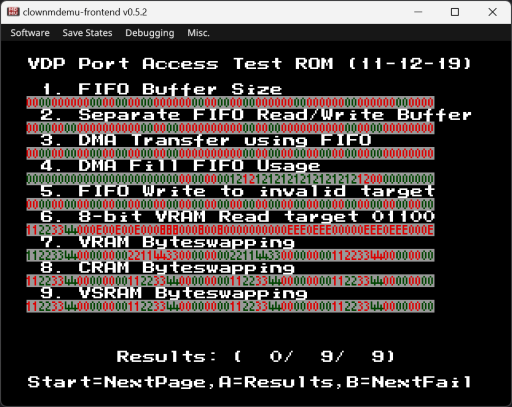
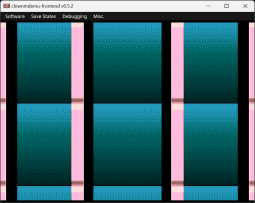
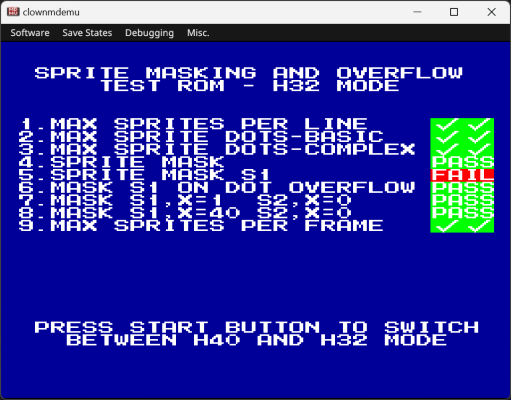
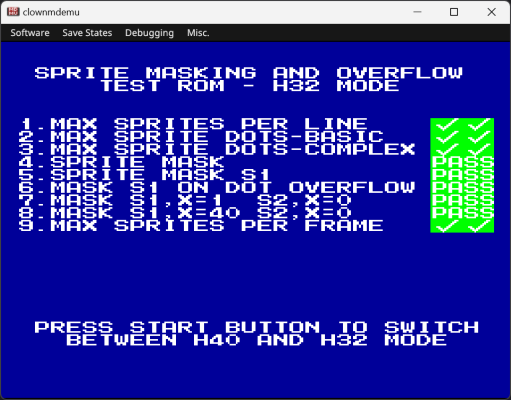
The basic hardware of the Mega Drive is emulated, but not to completion: things likethe YM2612's SSG-EG and LFO are missing, as well as support for the VDP's Window Plane and the 68k's instruction cycle durations. Basically, games that do run in the emulator may be missing certain effects. Other games just don't boot, like Combat Cars and Micro Machines. If you want to see exactly which features are and aren't currently emulated, there's a list here.
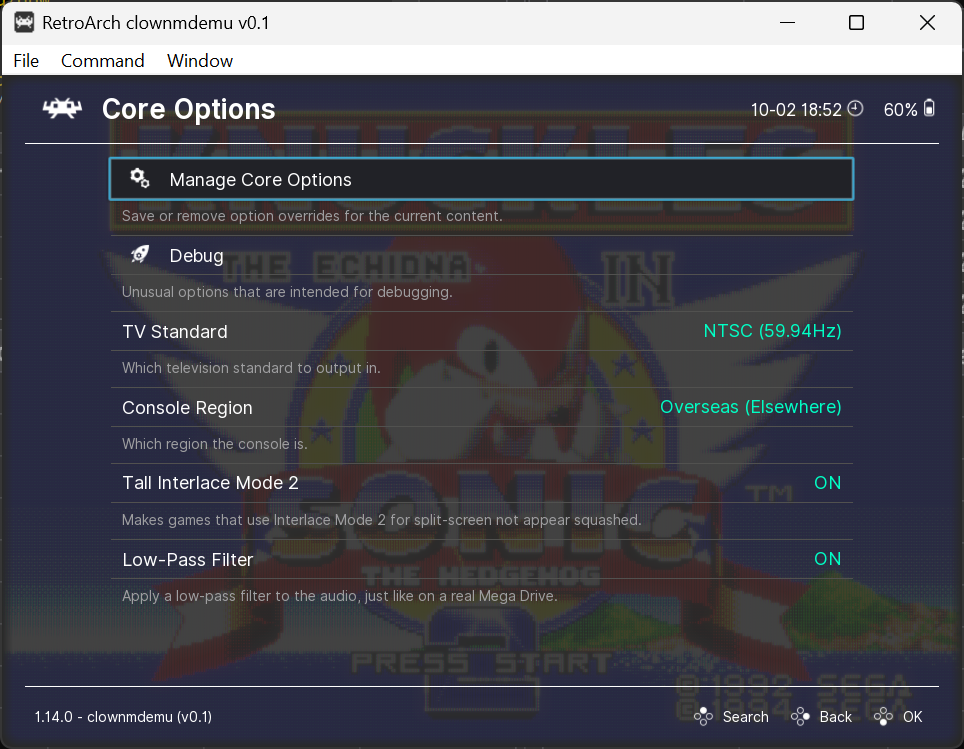
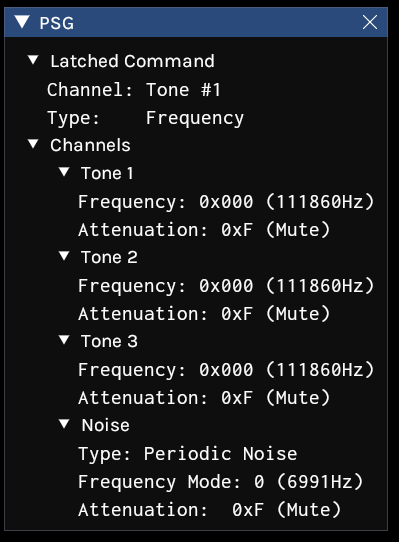
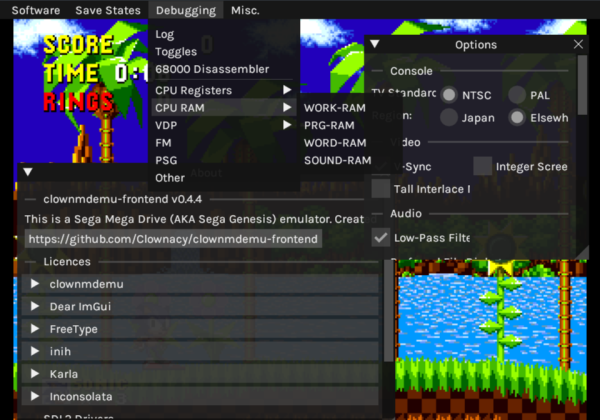
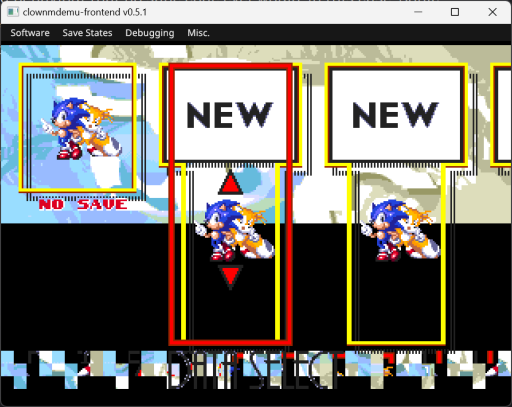
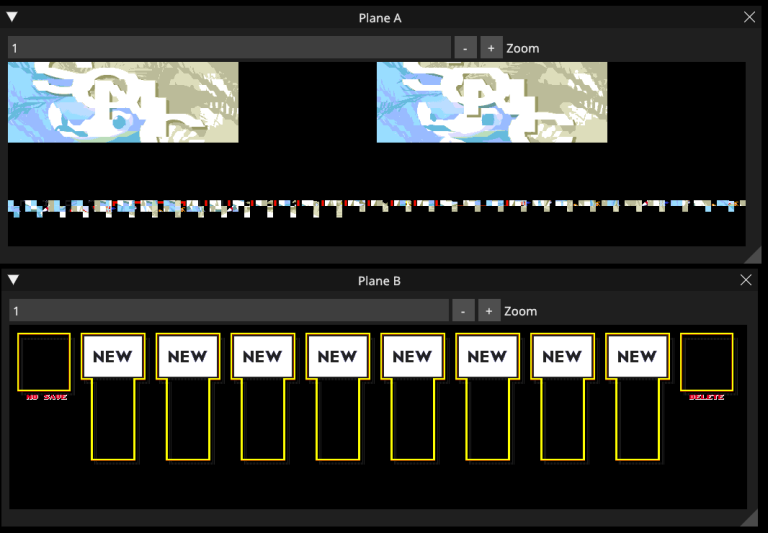
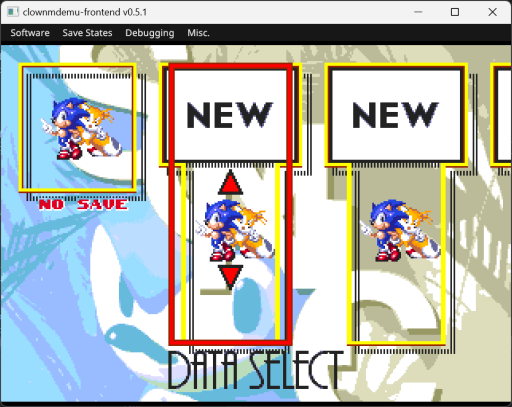
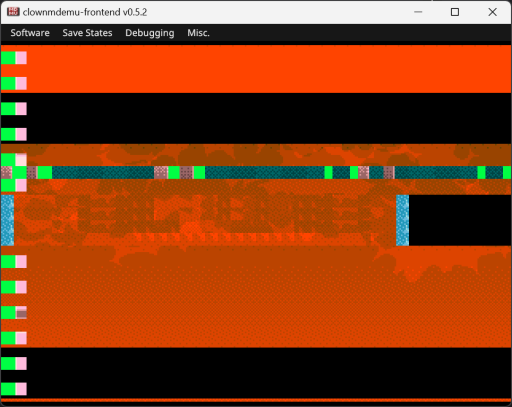
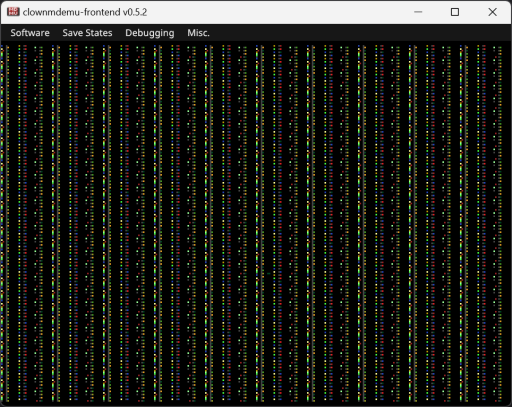
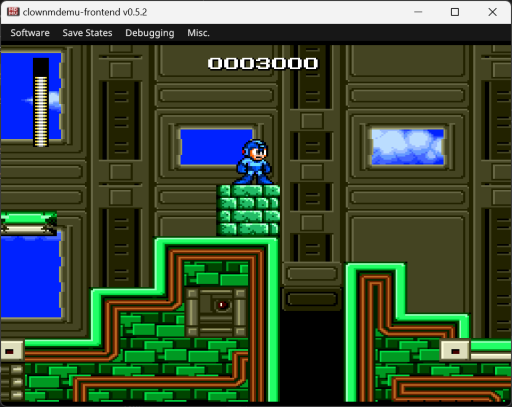
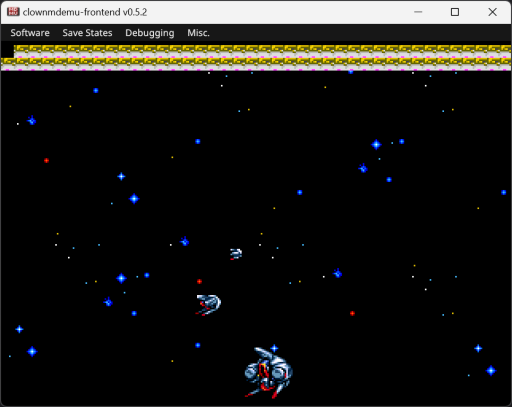
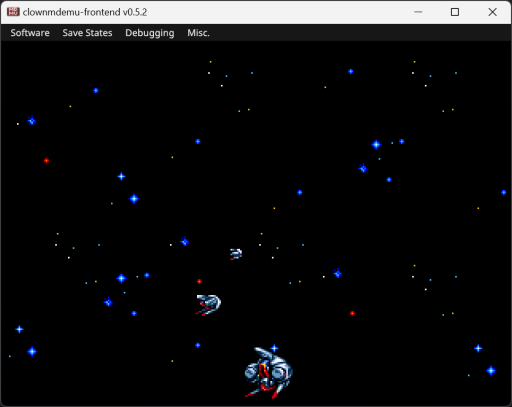
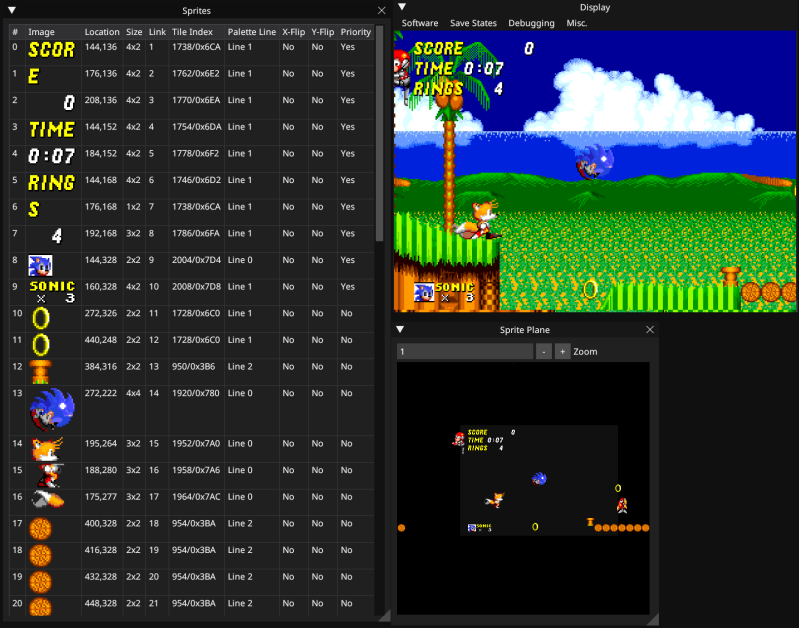
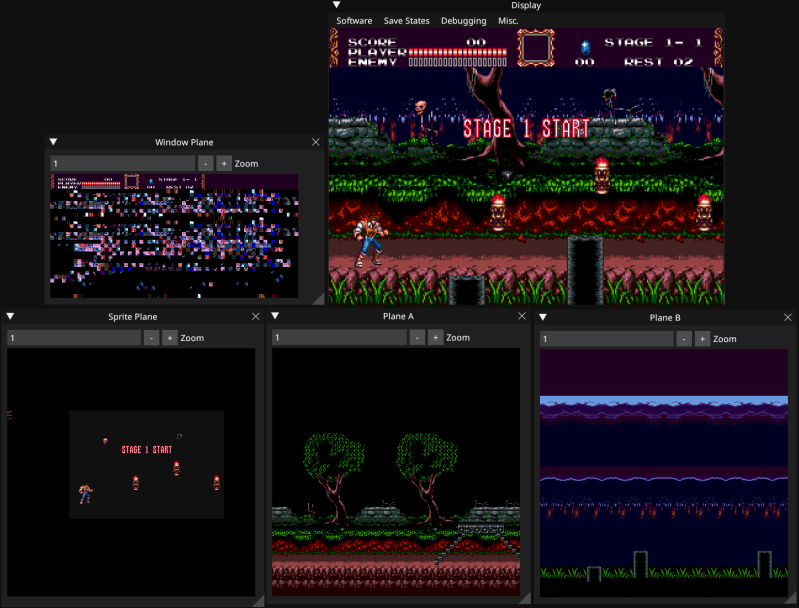
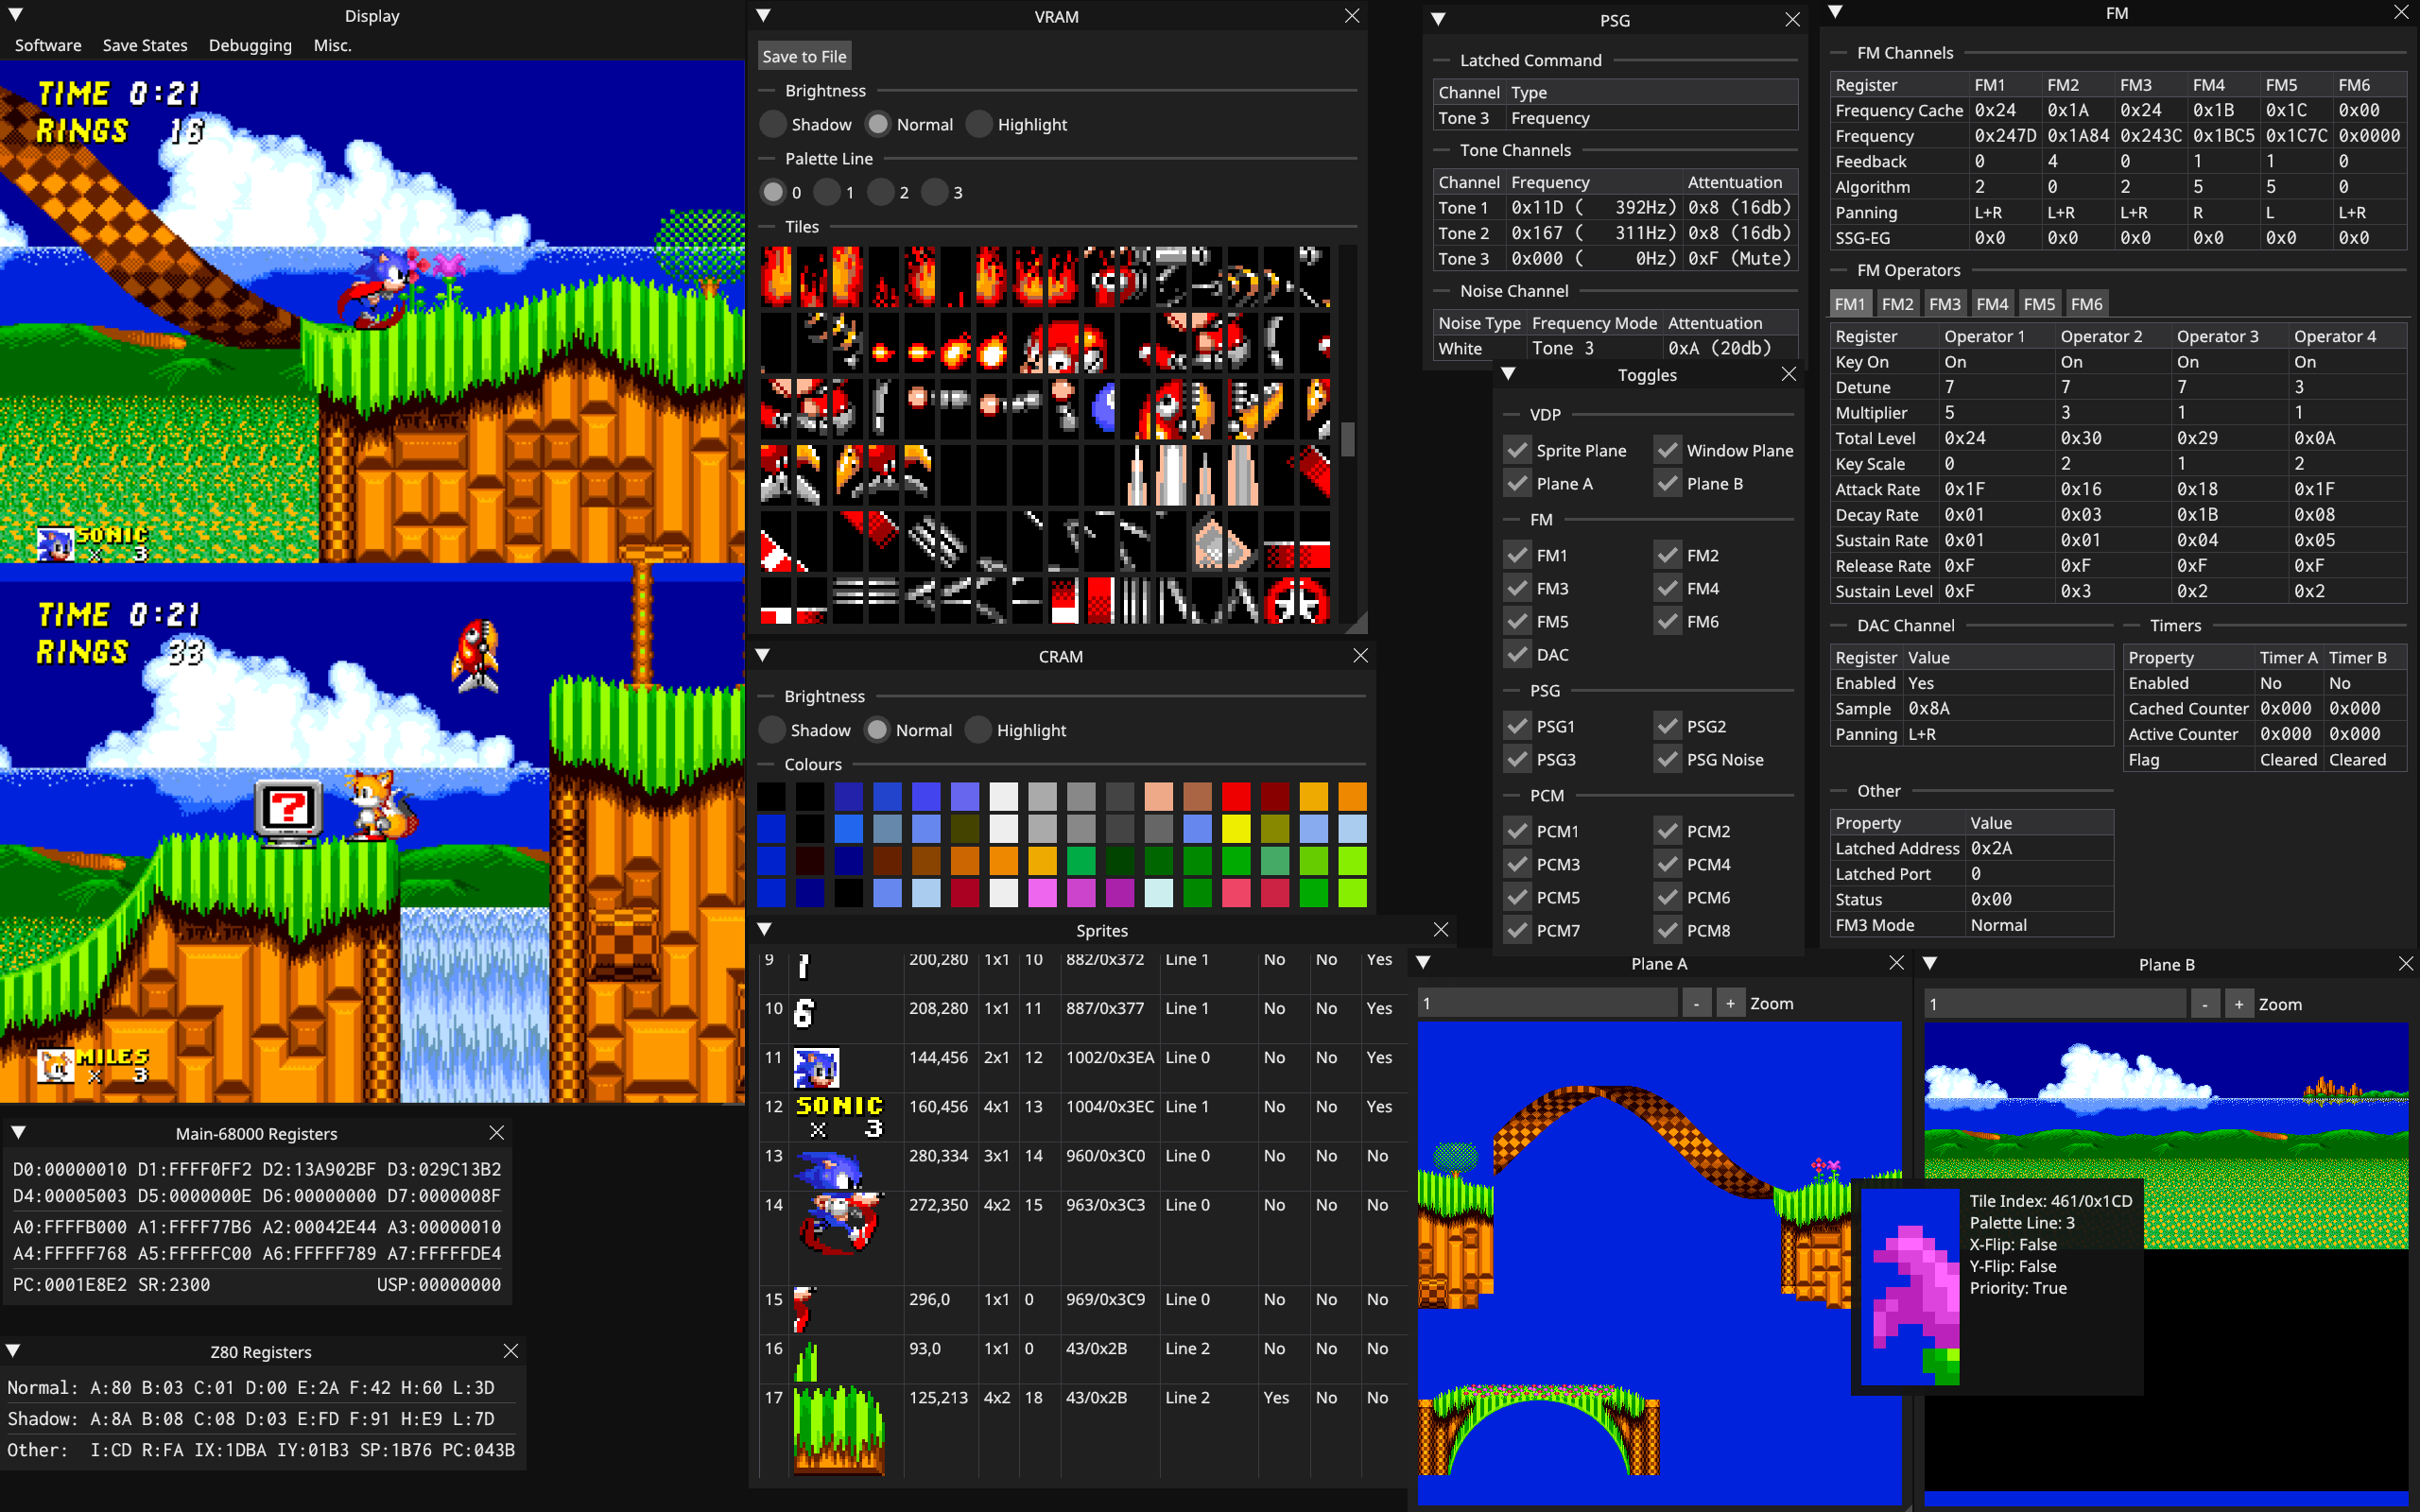
As you can see, the emulator comes with some debugging utilities. I figure that they'll come in handy for ROM-hack development, or even just finding out how a game works internally. For example, did you know that Sonic 3's Data Select menu uses Plane B for the foreground and Plane A for the background, rather than the other way around like it usually is?
Why
I've been programming for the Mega Drive since late 2012. That's almost 10 years ago! I know practically everything there is to know about how games use the Mega Drive hardware, which means that I know everything that would have to be done in order to run those games on other platforms.
I figured that writing an emulator would be a good way to put that knowledge to the test.
Code
Unlike some other Mega Drive emulators, this one has been created entirely from scratch: no MAME or Gens code here! In fact, I think that the codebase is what makes this emulator unique: it's written in...
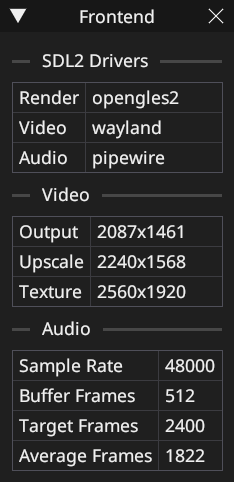
Another novel feature is that the emulator is separated into two components: the core and the frontend. The core contains all of the emulation logic, while the frontend contains all of the platform-dependent code for reading input and presenting the video and audio to the user. Iintend to eventually leverage this to create a libretro core.
Another major feature of the emulator's code is that it avoids global state: all of the emulator's subsystems access their state through a struct pointer which is passed as a parameter to every function. This is essentially 'proto-C++' object-oriented C. On top of allowing multiple states to be used (thus theoretically allowing multiple Mega Drives to be emulated at once), this also makes for incredibly efficient rewind support. In fact, both rewinding and save states are entirely features of the frontend, as they have been abstracted away from the emulation core itself completely.
You can read more about the quirks of ClownMDEmu's code in its README.
Goal
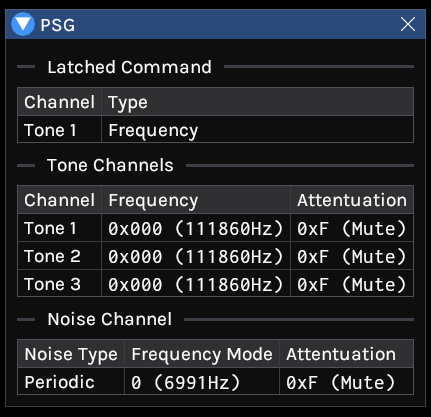
My goal with ClownMDEmu is not to create the most accurate Mega Drive emulator, nor is it to create the fastest. Rather, mine aims for an in-between: to make an emulator that produces 'correct' behaviour externally while being as efficient as possible internally. External accuracy: yes - internal accuracy: no. An example of this is how the FM and PSG are updated: rather than do so once every clock tick as a real Mega Drive would, the emulator only updates the FM and PSG when the 68k or Z80 attempt to access them, doing so in bulk until they have 'caught up' with the rest of the system.
Download
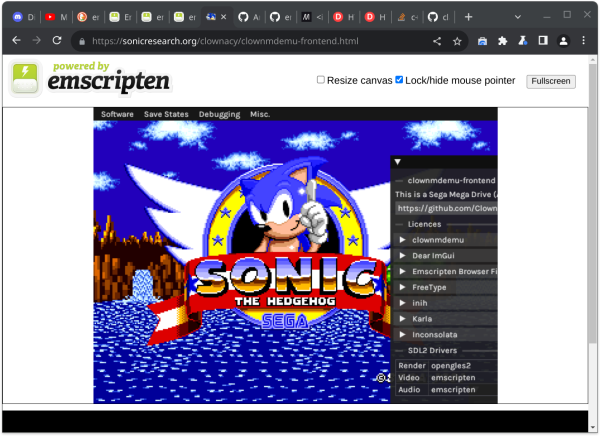
But what's the use in describing the emulator here? You can try it for yourself:
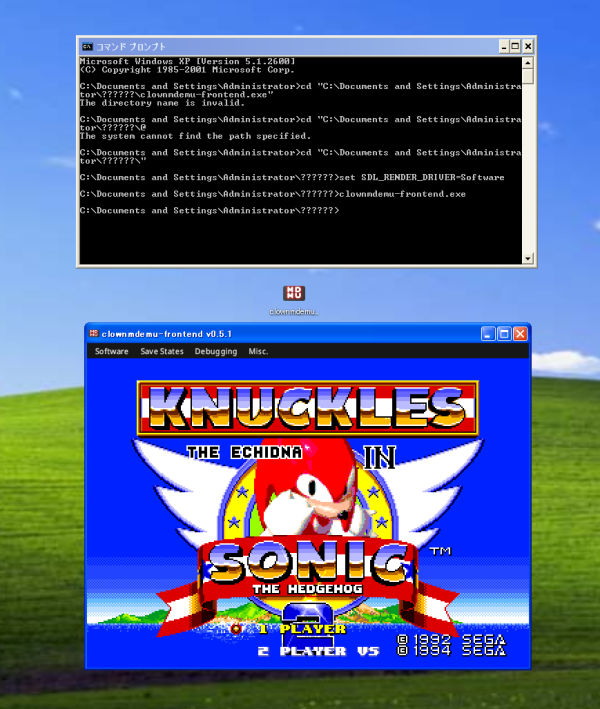
The EXE is 32-bit, and should work on versions of Windows as far back as Windows XP. An x86-64 AppImage is provided for Linux.
If you're compiling it yourself on Linux, then that should be simple enough: the build script is CMake, and the standalone frontend depends on the FreeType and SDL3 libraries. You can find the latest source code here:
Usage
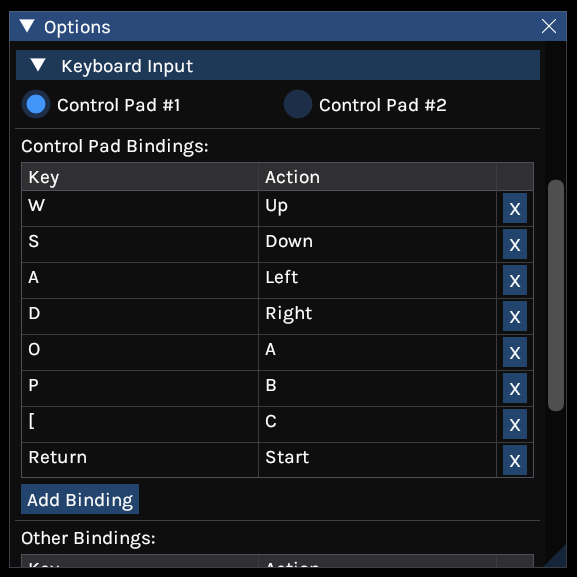
Keyboard controls are remappable, but the controller layout is currently hardcoded. You can find a list of default controls in the emulator's README. Notably, you can quick-save with F5, quick-load with F9, fast-forward with the space key, and rewind with the R key.
Development
Since starting this emulator, I've been documenting its development on my blog. So far there have been 8 posts, which I'll list here:
ClownMDEmu!
You'll never guess what the name's short for! :D
I haven't done a whole lot of testing with this, but it does appear to work with Sonic 1, 2, 3, & Knuckles, Puyo Puyo, and ROM-hacks like Sonic 2 Recreation.
The basic hardware of the Mega Drive is emulated, but not to completion: things like
As you can see, the emulator comes with some debugging utilities. I figure that they'll come in handy for ROM-hack development, or even just finding out how a game works internally. For example, did you know that Sonic 3's Data Select menu uses Plane B for the foreground and Plane A for the background, rather than the other way around like it usually is?
Why
I've been programming for the Mega Drive since late 2012. That's almost 10 years ago! I know practically everything there is to know about how games use the Mega Drive hardware, which means that I know everything that would have to be done in order to run those games on other platforms.
I figured that writing an emulator would be a good way to put that knowledge to the test.
Code
Unlike some other Mega Drive emulators, this one has been created entirely from scratch: no MAME or Gens code here! In fact, I think that the codebase is what makes this emulator unique: it's written in...
- Rust?
- No, that's gross and bad and you should be ashamed of yourself for suggesting it. >:((((
- C++20?
- Not that overcomplicated thing!
- Go? JavaScript? D? Python? Swift?
- Get out of my thread.
- C89...?
- That's the one!
Another novel feature is that the emulator is separated into two components: the core and the frontend. The core contains all of the emulation logic, while the frontend contains all of the platform-dependent code for reading input and presenting the video and audio to the user. I
Another major feature of the emulator's code is that it avoids global state: all of the emulator's subsystems access their state through a struct pointer which is passed as a parameter to every function. This is essentially 'proto-C++' object-oriented C. On top of allowing multiple states to be used (thus theoretically allowing multiple Mega Drives to be emulated at once), this also makes for incredibly efficient rewind support. In fact, both rewinding and save states are entirely features of the frontend, as they have been abstracted away from the emulation core itself completely.
You can read more about the quirks of ClownMDEmu's code in its README.
Goal
My goal with ClownMDEmu is not to create the most accurate Mega Drive emulator, nor is it to create the fastest. Rather, mine aims for an in-between: to make an emulator that produces 'correct' behaviour externally while being as efficient as possible internally. External accuracy: yes - internal accuracy: no. An example of this is how the FM and PSG are updated: rather than do so once every clock tick as a real Mega Drive would, the emulator only updates the FM and PSG when the 68k or Z80 attempt to access them, doing so in bulk until they have 'caught up' with the rest of the system.
Download
But what's the use in describing the emulator here? You can try it for yourself:
The EXE is 32-bit, and should work on versions of Windows as far back as Windows XP. An x86-64 AppImage is provided for Linux.
If you're compiling it yourself on Linux, then that should be simple enough: the build script is CMake, and the standalone frontend depends on the FreeType and SDL3 libraries. You can find the latest source code here:
Usage
Keyboard controls are remappable, but the controller layout is currently hardcoded. You can find a list of default controls in the emulator's README. Notably, you can quick-save with F5, quick-load with F9, fast-forward with the space key, and rewind with the R key.
Development
Since starting this emulator, I've been documenting its development on my blog. So far there have been 8 posts, which I'll list here:
- 2021/09/29 - Emulating the Motorola 68000 CPU, the VDP, and the memory bus arbiter in a week, which was enough to get Sonic 1 to reach its title screen.
- 2021/10/03 - Fixing bugs to make Sonic 1 and 2 playable, and sharing the resources that I used to create the 68k and VDP emulators.
- 2021/10/06 - Adding VDP Interlace Mode 2 so Sonic 2's two player mode worked, and Shadow/Highlight mode so that Sonic 2 and 3's Special Stages rendered shadows correctly.
- 2022/01/27 - Giving the emulator a GUI, and emulating the PSG.
- 2022/01/30 - Adding debug menus.
- 2022/05/17 - Adding (and removing) proper interlaced rendering, while nearly destroying my laptop's screen in the process.
- 2022/05/25 - Emulating the YM2612, which is the part of the Mega Drive that I have by far the least experience with.
- 2022/06/23 - Emulating the Zilog Z80 CPU, without making it anywhere near as bad as the 68k emulator.
- 2022/10/02 - Rewriting the 68k emulator to be almost 3 times faster.
Last edited:
")