clownmdemu - The Greatest Mega Drive Emulator Ever (Someday)

Clownacy

Member
Messages
21
Since September last year, I've been working on-and-off on a Mega Drive emulator. It's not even close to being complete, but when will it ever be? So I figure that I might as well release it now, because there will always be some feature left to be implemented, or some game that doesn't work right. Waiting for it to be 'ready' is a fool's errand.

clownmdemu!
You'll never guess what the name's short for! :‎D

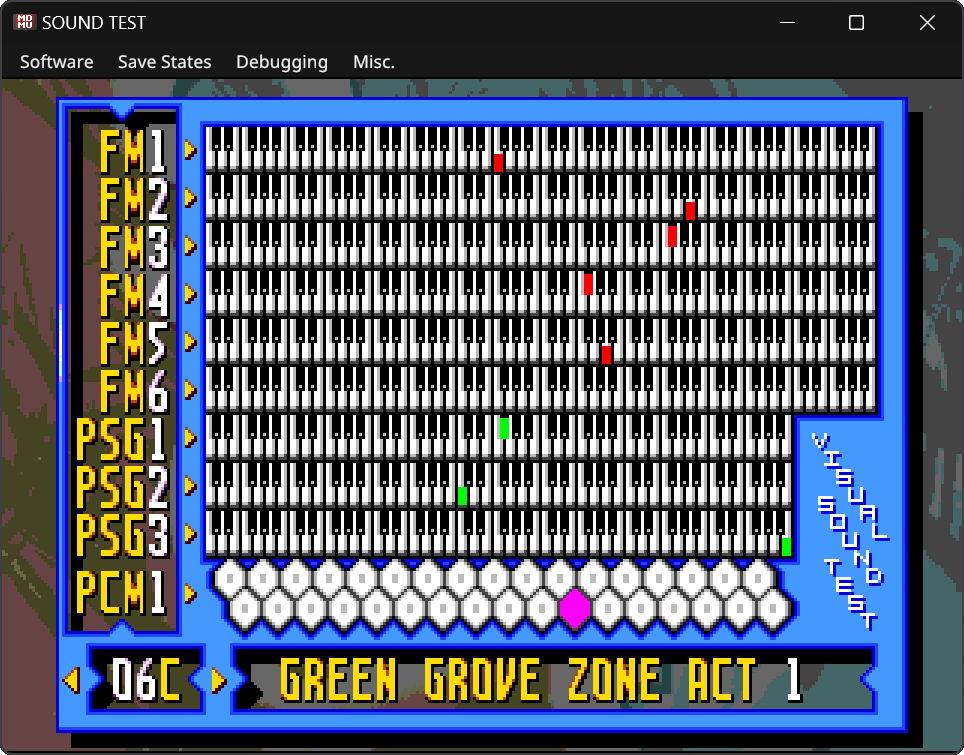
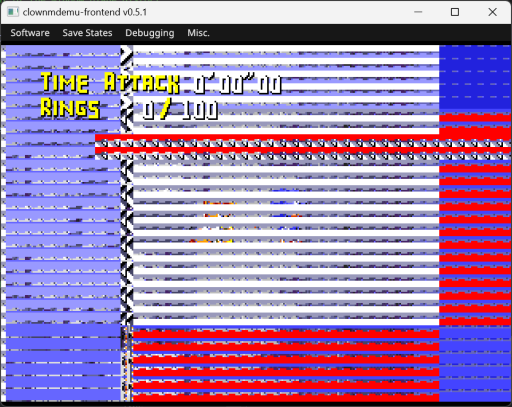
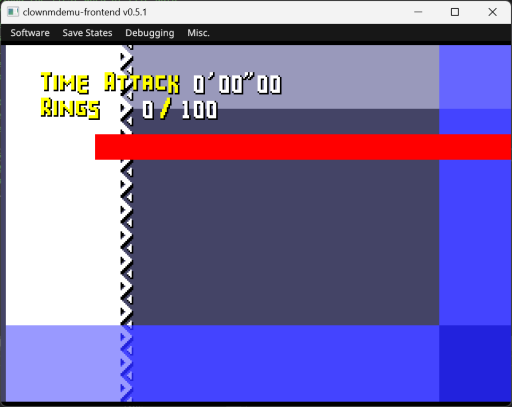
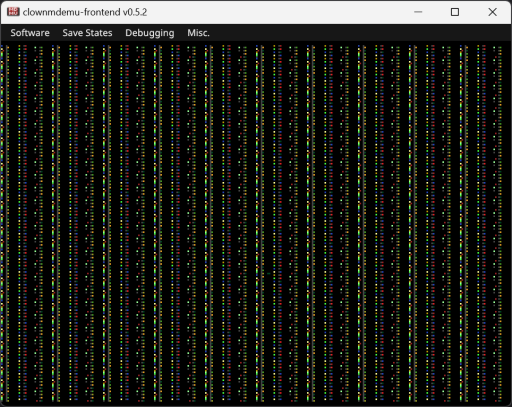
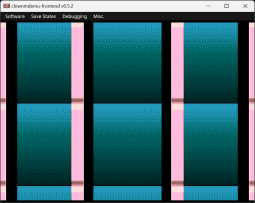
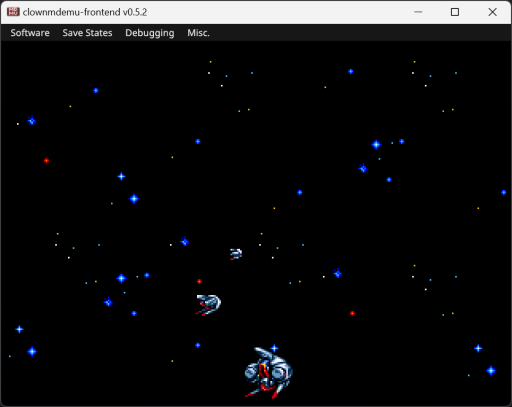
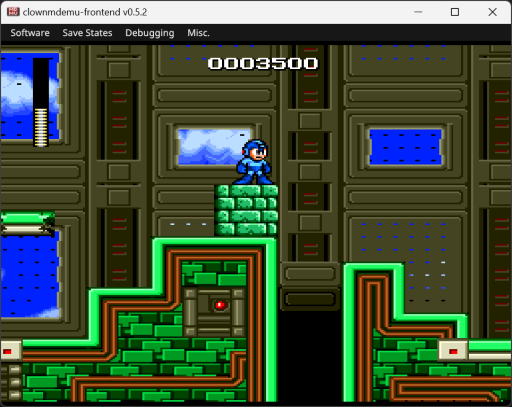
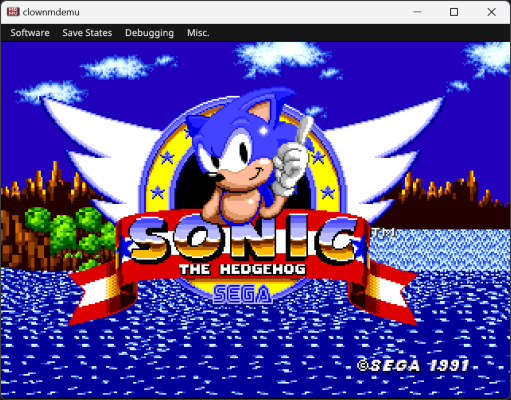
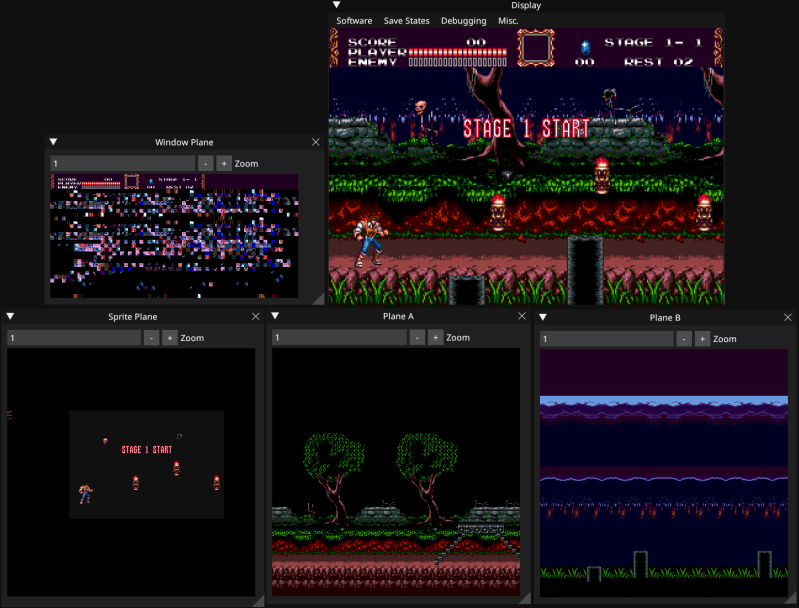
screenshot-minimal.png


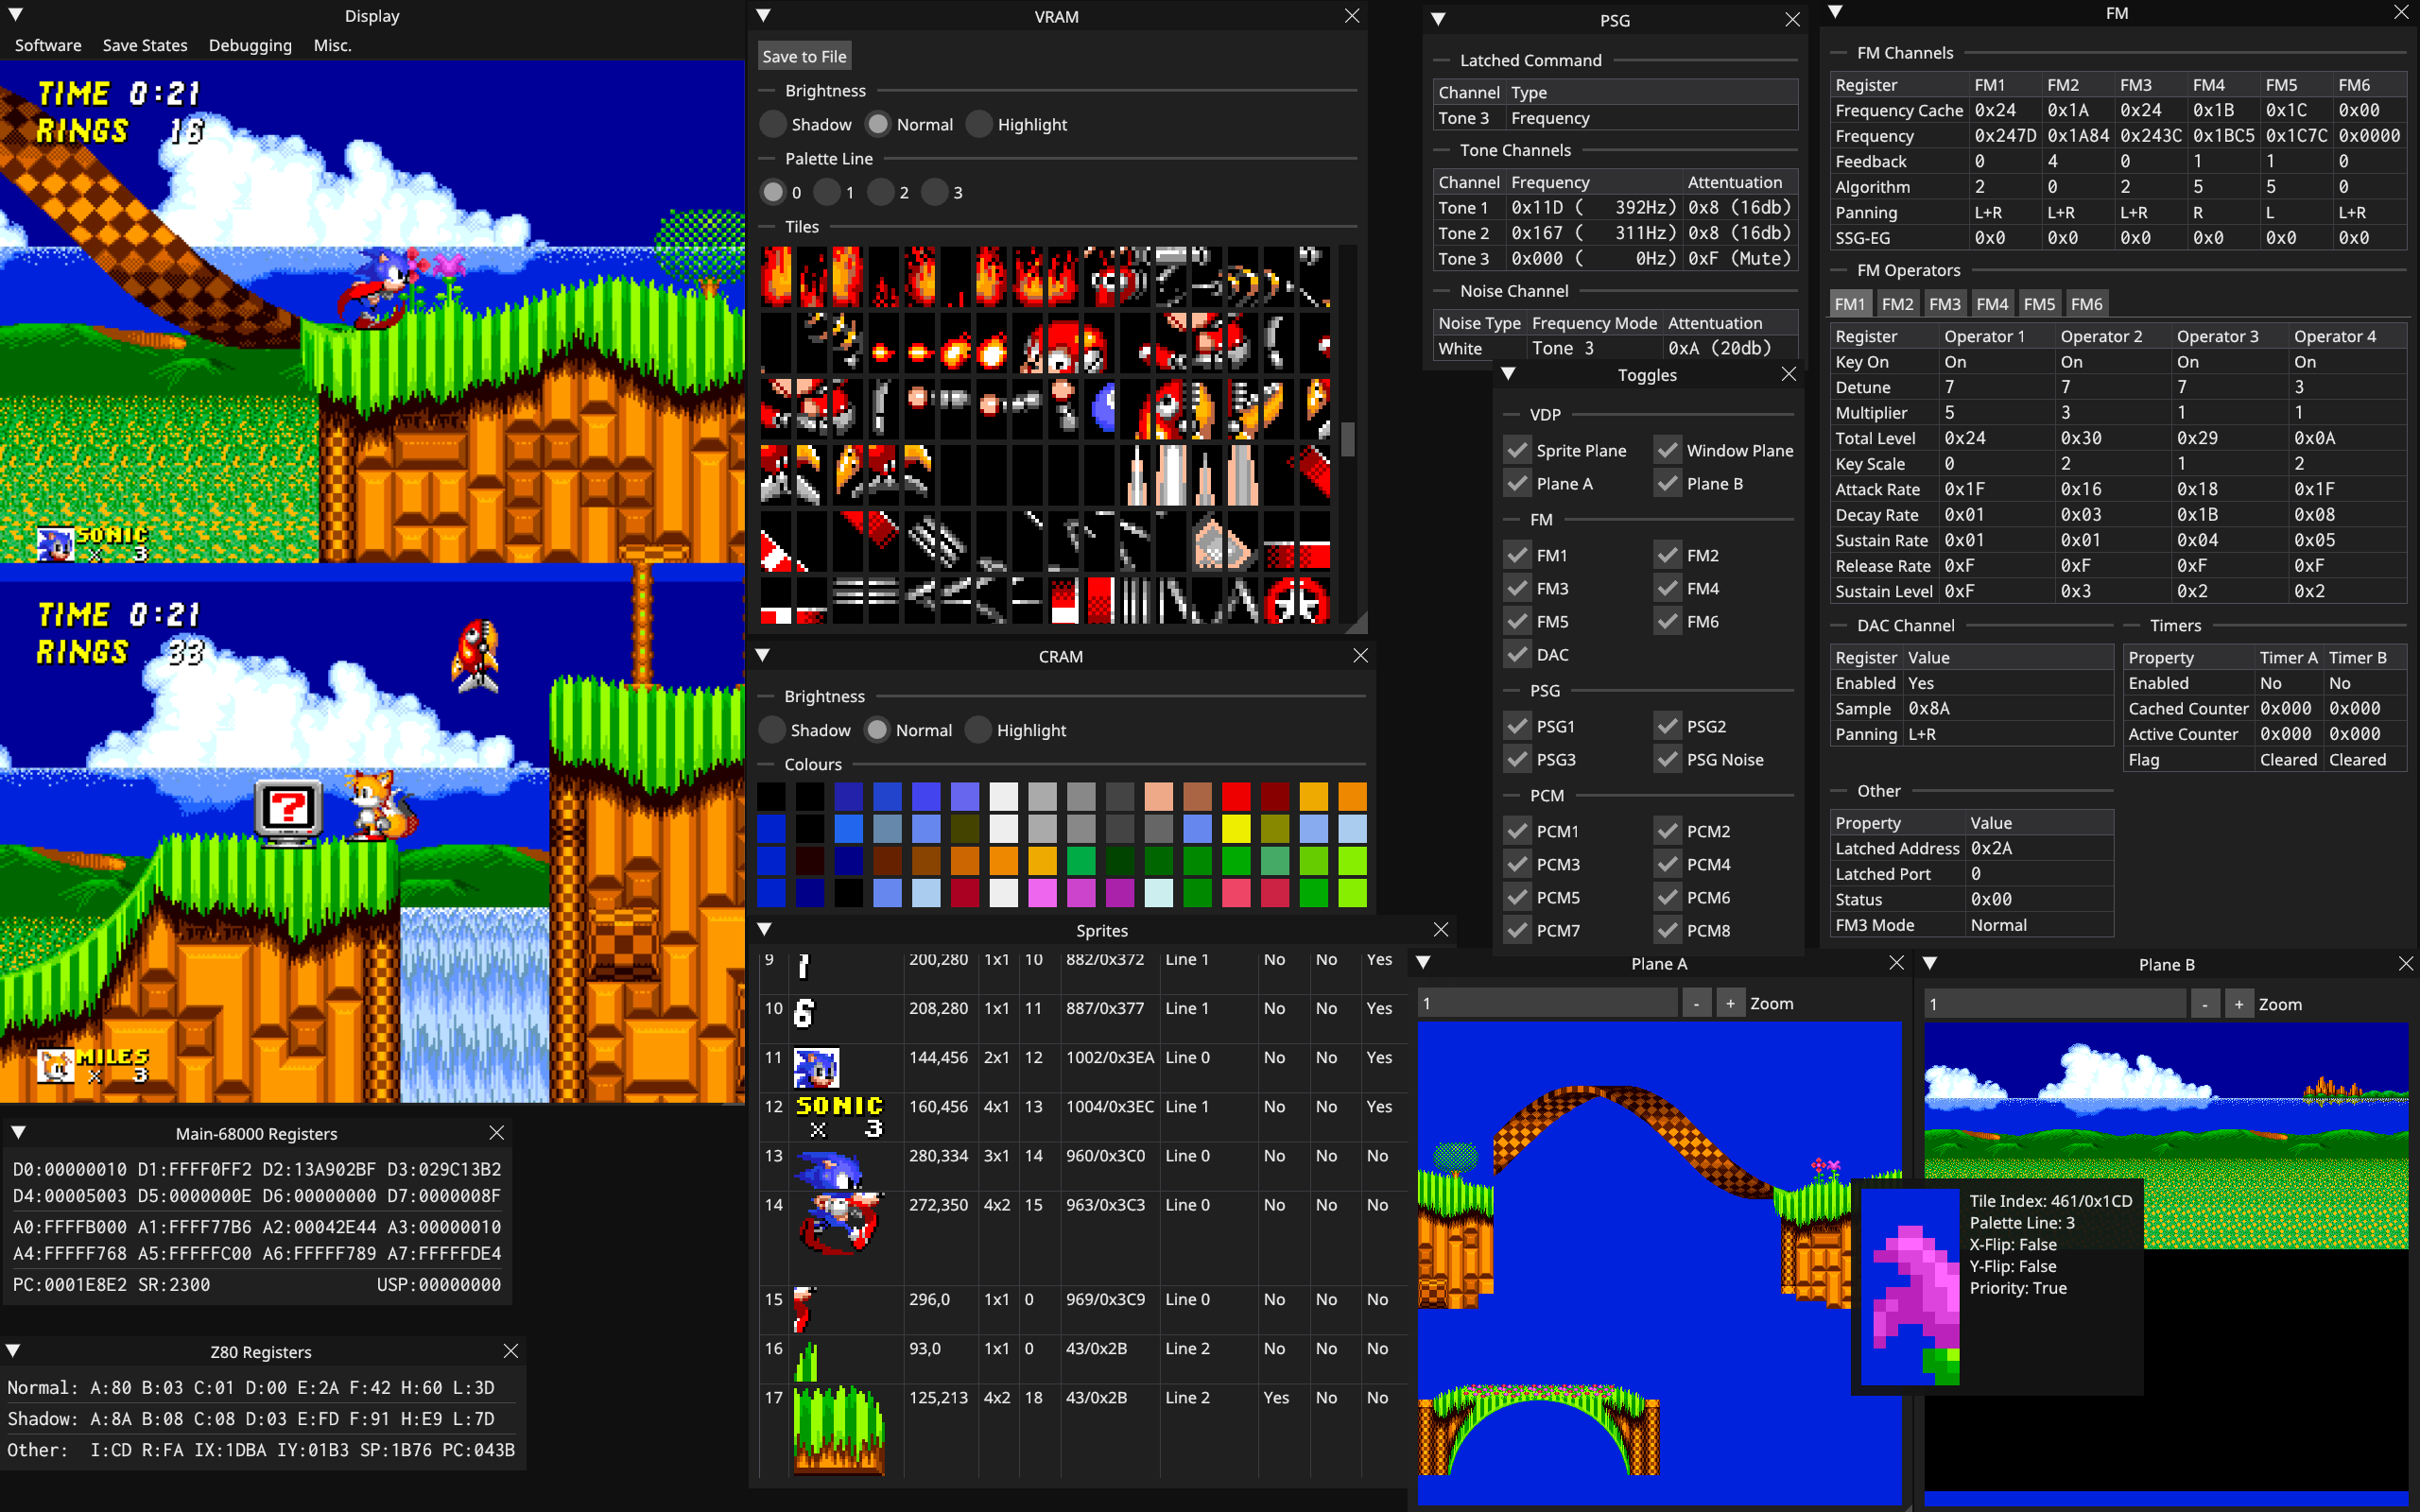
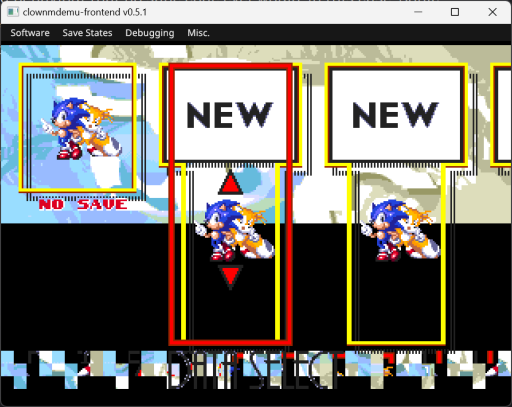
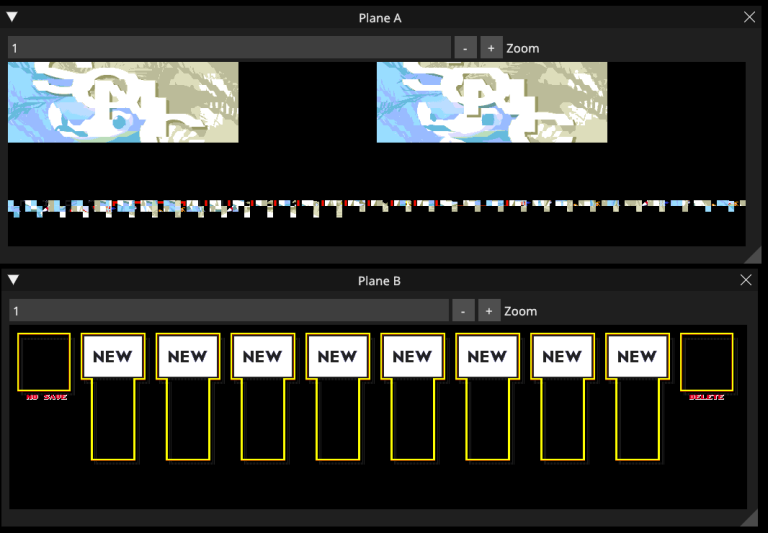
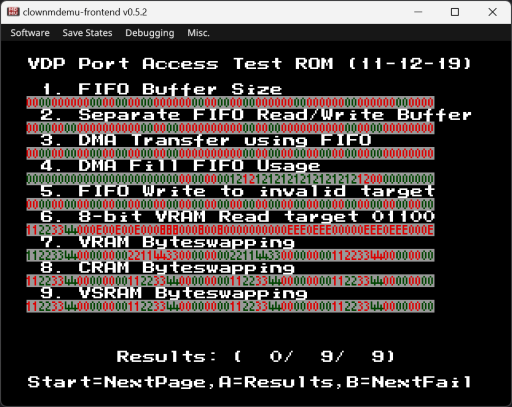
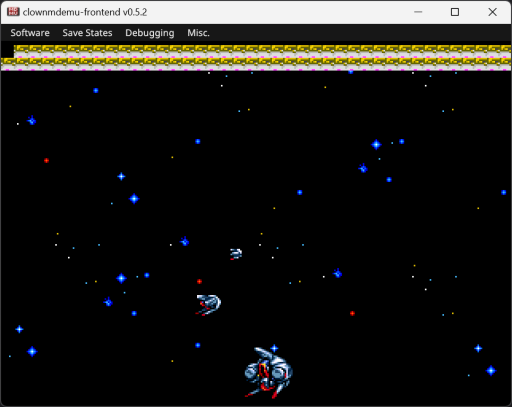
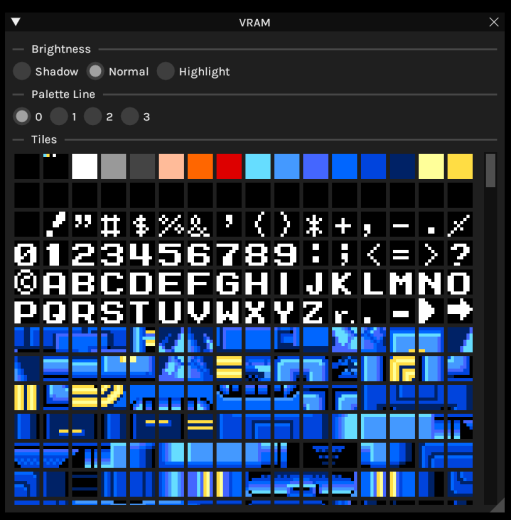
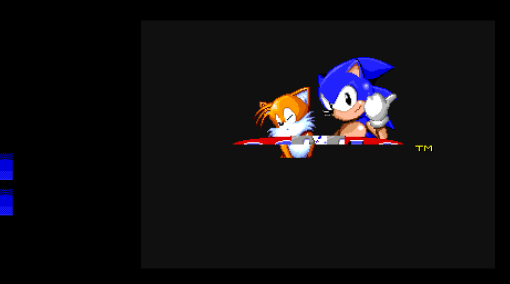
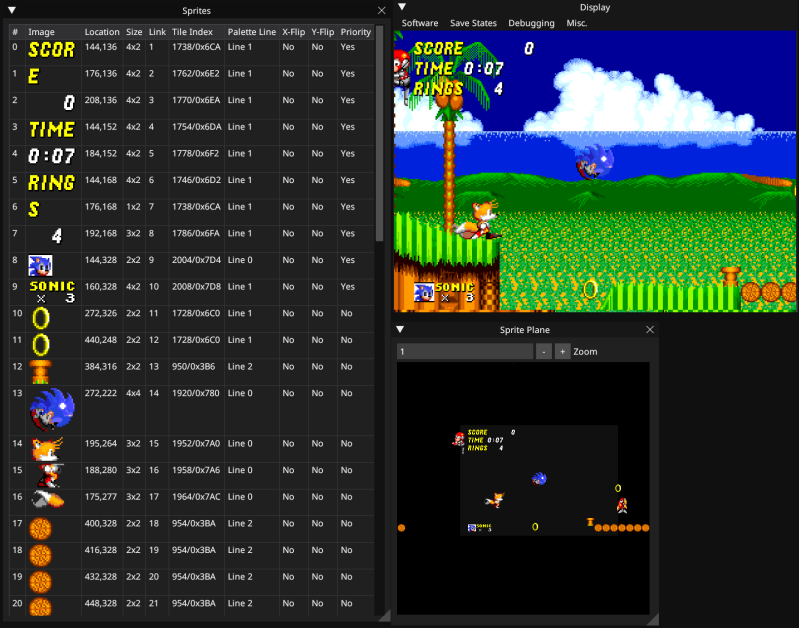
screenshot-debug.png


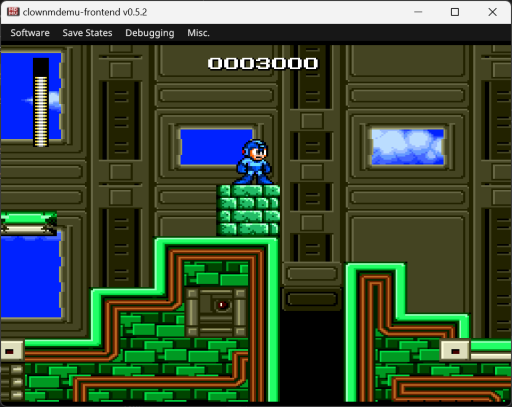
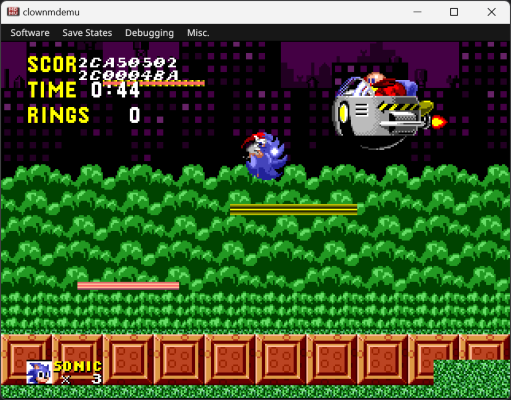
I haven't done a whole lot of testing with this, but it does appear to work with Sonic 1, 2, 3, & Knuckles, Puyo Puyo, and ROM-hacks like Sonic 2 Recreation. Sonic 3 is a little glitchy at the moment.

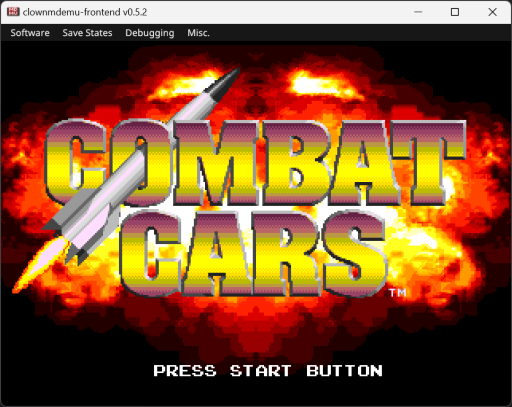
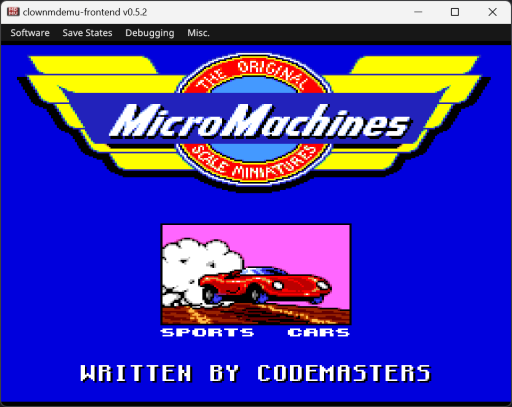
The basic hardware of the Mega Drive is emulated, but not to completion: things like the YM2612's SSG-EG and LFO are missing, as well as support for the VDP's Window Plane and the 68k's instruction cycle durations. Basically, games that do run in the emulator may be missing certain effects. Other games just don't boot, like Combat Cars and Micro Machines. If you want to see exactly which features are and aren't currently emulated, there's a list here.

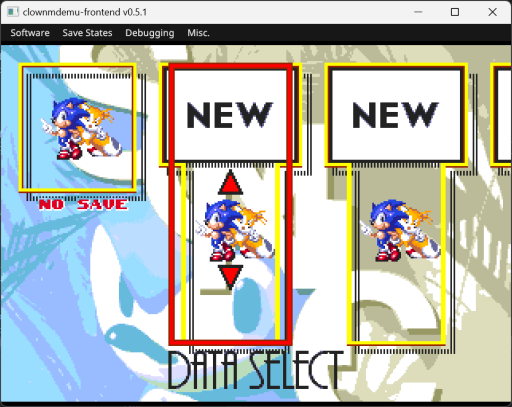
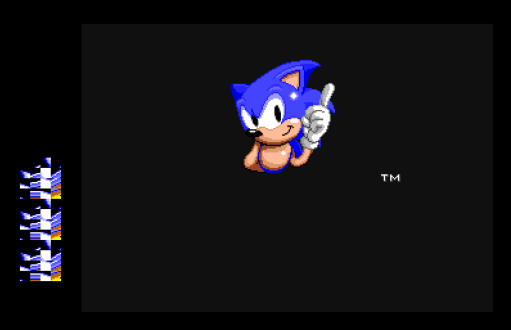
As you can see, the emulator comes with some debugging utilities. I figure that they'll come in handy for ROM-hack development, or even just finding out how a game works internally. For example, did you know that Sonic 3's Data Select menu uses Plane B for the foreground and Plane A for the background, rather than the other way around like it usually is?

Why
I've been programming for the Mega Drive since late 2012. That's almost 10 years ago! I know practically everything there is to know about how games use the Mega Drive hardware, which means that I know everything that would have to be done in order to run those games on other platforms.

I figured that writing an emulator would be a good way to put that knowledge to the test.

Code
Unlike some other Mega Drive emulators, this one has been created entirely from scratch: no MAME or Gens code here! In fact, I think that the codebase is what makes this emulator unique: it's written in...
  • Rust? No, that's gross and bad and you should be ashamed for suggesting it. >:‎(
  • C++20? Eww, no, not that overcomplicated mess.
  • Go? JavaScript? D? Python? Swift? Leave this thread now.
  • C89...? Yep, that's the one!
...You might be thinking 'Hey, that's not unique at all!', but here's the thing: my emulator is written in portable C89. What's the difference? Well, many other C projects make mistakes like using fixed-size integer types like 'uint32_t' for no reason whatsoever (they aren't even guaranteed by the C standard to exist, breaking compatibility with platforms where they don't), treating 'int' like it's always a 32-bit type (breaking compatibility with platforms where 'int' isn't 32-bit), and using logic that only works on little-endian architectures (breaking compatibility with platforms with big-endian CPUs). These projects will only work on certain platforms, while my emulator should theoretically run on any platform that you can compile C for, so long as the RAM requirements are met. Additionally, being written in strict C89 means that the emulator can be built with vintage compilers for ancient platforms (16-bit DOS port, anyone?).

Another novel feature is that the emulator is separated into two components: the core and the frontend. The core contains all of the emulation logic, while the frontend contains all of the platform-dependent code for reading input and presenting the video and audio to the user. I intend to eventually leverage this to create a libretro core.

Another major feature of the emulator's code is that it avoids global state: all of the emulator's subsystems access their state through a struct pointer which is passed as a parameter to every function. This is essentially 'proto-C++' object-oriented C. On top of allowing multiple states to be used (thus theoretically allowing multiple Mega Drives to be emulated at once), this also makes for incredibly efficient rewind support. In fact, both rewinding and save states are entirely features of the frontend, as they have been abstracted away from the emulation core itself completely.

You can read more about the quirks of clownmdemu's code in its README.

Goal
My goal with clownmdemu is not to create the most accurate Mega Drive emulator, nor is it to create the fastest. Rather, mine aims for an in-between: to make an emulator that produces 'correct' behaviour externally while being as efficient as possible internally. External accuracy, yes - internal accuracy, no. An example of this is how the FM and PSG are updated: rather than do so once every clock tick as a real Mega Drive would, the emulator only updates the FM and PSG when the 68k or Z80 attempt to access them, doing so in bulk until they have 'caught up' with the rest of the system.

Download
But what's the use in describing the emulator here? You can try it for yourself:
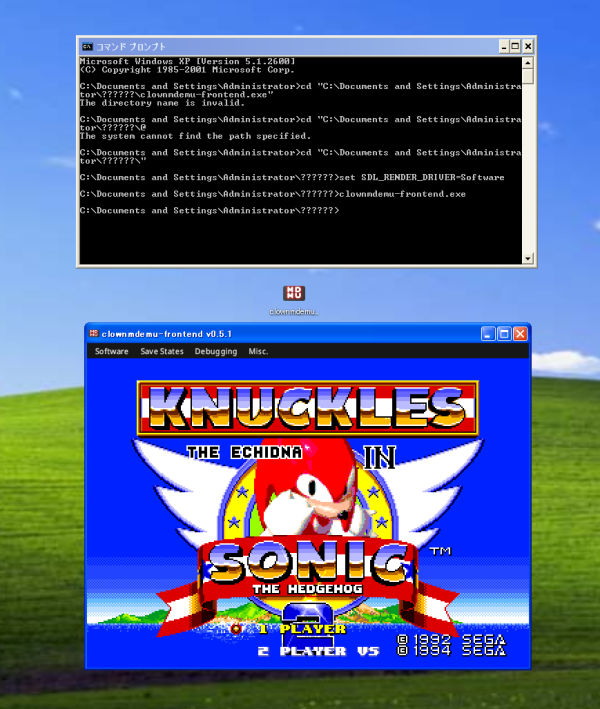
These binaries are 32-bit, and should work on versions of Windows as far back as Windows XP.

If you're compiling it yourself on Linux, then that should be simple enough: the build script is CMake, and the standalone frontend depends on the FreeType and SDL2 libraries. You can find the latest source code here:
Usage
The controls in the standalone frontend are currently hardcoded, but aren't hard to change if you edit the source code. You can find a list of key bindings in the emulator's README. Notably, you can quick-save with F5, quick-load with F9, fast-forward with the space key, and rewind with the R key.

Development
Since starting this emulator, I've been documenting its development on my blog. So far there have been 8 posts, which I'll list here:
I'll try to cross-post future posts here, so that anyone who's interested in this emulator can stay up-to-date with its development.
 
Last edited:
Clownacy

Member
Messages
21
[Cross-post from my groovy blog ;)]

It's been too long, but finally my emulator has an update!

Since the first release, the emulator has been greatly optimised, some inaccuracies in the 68000 interpreter have been addressed, and the occasional missing CPU instruction has been added. Compatibility with games should be a bit better than before, but still not great as many essential features of the Mega Drive are not emulated.

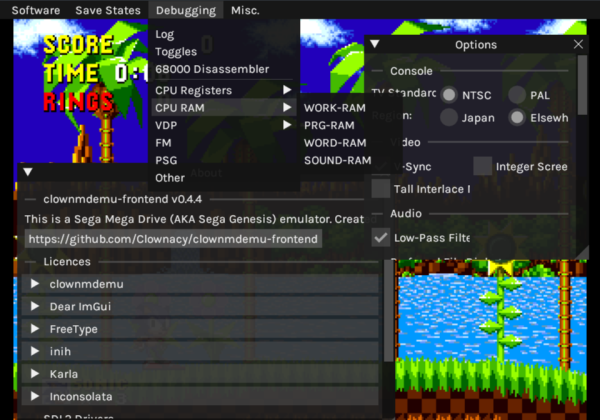
The standalone frontend has had some extra debug menus added, which allow you to view the registers of the YM2612, 68000, and Z80:

image.png


New to the emulator is a libretro core frontend, allowing the emulator to be used by libretro implementations such as RetroArch. It lacks the debug menus of the standalone frontend, but makes up for it with features that libretro cores get for free, like customisable controllers and shaders:

image-2.png


In theory, the libretro core should provide a simple way of getting this emulator running on a variety of platforms: just compile the core into a library (static or shared), and use it in tandem with a libretro frontend such as RetroArch.

During the development of this update, I have set up a test suite for the 68000 interpreter which allows me to check that each instruction does as it is supposed to. It was this test suite that notified me of how the word-size ADDA, SUBA, and CMPA instructions were pitifully broken. I'm surprised that this didn't break Sonic 1, 2, or 3&K, but it did break Linux.

Yes, Linux: to test my 68000 interpreter, I extracted it from this emulator and used it to create an emulator for the 68 Katy, a hand-built computer that runs Linux. You can read more about it here.

I also made a small benchmarking tool which measures the speed of the core emulation logic. This is useful for measuring the impact of optimisations and the difference in speed between platforms.

Overall, this has been a rather incremental update. Rather than being focussed on optimisation and refactoring, I hope that the next update will be focussed on improving compatibility and emulating more features of the Mega Drive.

You can download the standalone frontend here, and the libretro frontend here.
 
Last edited:

Clownacy

Member
Messages
21
[Cross-posted from my blog.]

Keyboard Rebinding

One shortcoming of the standalone frontend is that it lacks keyboard rebinding: the W, A, S, and D keys will always control the Control Pad's D-Pad, and so on.

But not anymore!

image-7.png


New to the frontend is full keyboard rebinding! In addition, the default key bindings have been switched to the more common arrow keys and Z/X/C keys combination.

Unlike some other emulators, this system allows the user to bind multiple keys to the same action: for instance, if the user wanted to bind both the 'Z' key and the 'space' key to the Control Pad's 'A' button, then they can do so!

It would be pretty frustrating for binding customisations to be lost whenever the program is closed, so support has been added for persistent configuration: settings are saved to a file called 'clownmdemu-frontend.ini', allowing settings such as the keyboard bindings, console region, and V-sync to be remembered by the emulator.

Options Menu

Previously, the options would all be managed through the menu bar, but this is quite clunky as the menu bar would close after each option is toggled. To improve the user experience, the options have now been moved to a dedicated menu:

image-8.png


This menu provides a much more intuitive way to change options! Additionally, each option shows a tooltip when hovered over with the mouse, allowing unfamiliar users to understand what they do!

image-9.png


Default Window Sizes

Another improvement to the user experience is that windows are now given a sane default size, meaning that they will now have a proper size when opened for the first time.

image-10.png

This is dumb.

image-11.png

Much better.

Recent Software

Opening the same ROM file over and over again is tedious, so now the emulator keeps a list of the 10 most recent files used:

image-12.png


FM and PSG Debugging Toggles

The standalone frontend has had the ability to disable individual VDP planes for ages, but now it can also toggle FM and PSG channels. A dedicated menu has been added for this:


This feature is also available in the libretro core:

image-15.png


PSG Debugger Overhaul

The PSG debugging menu was butt-ugly before, and has been given a makeover:

Before:
image-14.png


After:
image-13.png


Support for Alternate PAL Detection Method

Previously, when playing Sonic the Hedgehog 2 with the emulated Mega Drive in PAL mode, the music would play at slightly slower speed, just like it does in the first game. This shouldn't happen.

The reason that this was occurring was that the game relies on an alternative method of detecting the PAL video mode: by checking bit 0 of the VDP's control port. This bit should reflect whether PAL mode is enabled or not. Now that this is the case, the game properly detects and accounts for the speed difference in its music, allowing it to play at the proper speed.

Download
v0.3 of the standalone frontend can be downloaded here: https://github.com/Clownacy/clownmdemu-frontend/releases/tag/v0.3

v0.1.1 of the libretro core can be downloaded here: https://github.com/Clownacy/clownmdemu-libretro/releases/tag/v0.1.1
 

Clownacy

Member
Messages
21
[Cross-post from my blog.]

This is just a quick update to address some issues in the previous v0.3 release.

Make FM Debugger More Compact

The FM debugger was a bit ‘verbose’ in v0.3…

image.png


As you can see, each channel was given its own window, which meant that it was a lot of effort to simply switch from one channel to another without just having all windows open at the same time, which would take up a lot of the screen.

Since it's unlikely that a user would ever need to see more than one FM channel's registers at a time, these windows have all been merged into a single tabbed window:

image-16.png


Fix DPI Support

Unfortunately, after hyping it up so much in v0.3's release, the default window sizes were broken on DPIs that weren't 150% the standard. I was expecting Dear ImGui to handle DPI differences like this automatically like it usually does, but that's not the case here.

I'll have to remember to test this frontend at alternate DPIs before each release to prevent a repeat of this mistake.

Add a Horizontal Scrollbar to the Plane Debugger

As the result of yet another strange quirk of Dear ImGui, horizontal scrollbars do not exist by default, even in windows that need them. This affected the VDP's Plane A/B debuggers, which only had a vertical scrollbar. By explicitly telling Dear ImGui to create a horizontal scrollbar, this issue is no more:

image-17.png


User-Friendliness Improvements to Keyboard Rebinding

Sometimes it's the small things that matter most.

When the user is repeatedly adding key bindings, the newly-extended binding list would push the 'Add Binding' button off-screen, requiring the user to scroll down to be able to press it again. This is a small annoyance, but an annoyance nonetheless, so it has been corrected by automatically scrolling the window down after a new binding is added.

Additionally, when selecting an action to bind to a selected key, the selected key is displayed to the user. This extra feedback allows the user to verify that they selected the correct key, instead of them being left in the dark.

image-18.png


Fix Phantom Keyboard Inputs After Rebinding

Sometimes, after rebinding the keyboard inputs, the emulated Control Pad would behave as if certain buttons were held when they are not. This was due to edge-cases in how the key-binding system works. For instance, if a key's binding were changed after it has been pressed but before it is released, then the emulator would 'forget' which Control Pad button to release when the key is released. This should no longer be the case.

Fix Ugly Seams Around Tiles in VRAM Debugger

Depending on the display's DPI, odd artifacts could appear around the tiles in the VRAM viewer:

image-20.png


This was the result of some accidental fractional image scaling. This has been corrected to use the proper integer image scaling, eliminating the seams.

Closing

With this much-needed polishing complete, hopefully the next update will include some improvements to the core emulation: Window Plane, SRAM, LFO, SSG-EG, YM2612 Timers - there are plenty of things left to add.

Download here: https://github.com/Clownacy/clownmdemu-frontend/releases/tag/v0.3.1
 
Last edited:

Clownacy

Member
Messages
21
frontend v0.4.2 & libretro v0.2.2
This update's on the smaller side: it's mainly just for native file dialogs on Unix-like OSs.

The emulator itself has been lightly optimised, as I've started using my 3DS as an ultra-low-end benchmark. Hopefully I can make my emulator fast enough to run at full speed on the 3DS someday.

I've also fixed the bug where, if you play Sonic 1, pause, and then reset the emulator, the Sega chant won't be audible. The fix was to make the YM2612 reset when the Z80 is reset, which is what happens on a real Mega Drive.

The main reason for this update is that the standalone frontend on Linux and the BSDs now has native file dialogs, instead of relying on the barebones fallback that was added in v0.4. These particular file dialogs leverage Zenity, meaning that they're GTK-based. In the future, I'll also add support for kdialog, to provide a Qt-based alternative. The usage of Zenity means that there is no hard dependency on GTK: if Zenity is not installed, then the frontend will harmlessly fall-back on the barebones file dialog instead.

Standalone: https://github.com/Clownacy/clownmdemu-frontend/releases/tag/v0.4.2
libretro: https://github.com/Clownacy/clownmdemu-libretro/releases/tag/v0.2.2
 
Last edited:
Clownacy

Member
Messages
21
frontend v0.4.3 & libretro v0.2.3
Another small update:

The plane debugger was broken back in v0.4. Thanks to Brainulator pointing this out, it has been fixed in this update.

A new Qt-based file dialog has been added for Linux and the BSDs, which leverages the 'kdialog' tool. Like the Zenity-powered GTK file dialog, this is a soft dependency: it is not required to build or run the emulator, and the emulator will instead fall-back on the default Dear ImGui-based dialog if neither are available.

I've also attempted to fix a curious hang that would occur when resuming the PC after leaving it asleep overnight. From what I can tell, it's the result of an overflow in the millisecond tick counter. To avoid this, the tick counter has been made 64-bit. Now it will only overflow after 2,000,000 years.

An optimisation has been made to the Z80 interpreter which gives it a massive speed boost, improving the performance of the emulator overall. It's still not enough to get the emulator running at full-speed on the 3DS, but it's a big step towards it.

Standalone: https://github.com/Clownacy/clownmdemu-frontend/releases/tag/v0.4.3
libretro: https://github.com/Clownacy/clownmdemu-libretro/releases/tag/v0.2.3
 

sabra55

dos programmer or smth idk
Messages
1
nice emulator, I wonder if people are gonna start using it over blastem or any other emu.
 
Last edited:
Clownacy

Member
Messages
21
frontend v0.4.4
Another small update that mainly fixes bugs in the frontend, with one bugfix in the emulator itself.

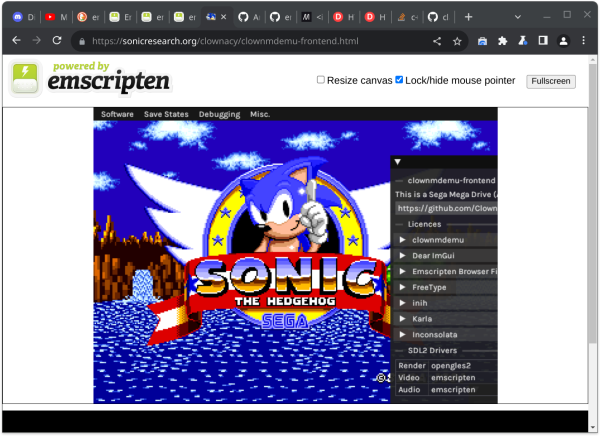
The emulator also got a logo and icon at long last:
logo.png

It's meant to mimic the look of Windows 11's icons, like those of Notepad and Calculator.

Support for Linux and macOS has been fixed: SDL2's unreliable DPI detection was throwing the scaling off. Unfortunately, this means that high-DPI support is currently Windows-only. I blame SDL2 for this one: its entire purpose is to be a platform abstraction layer, and it completely fails at this when it comes to managing DPI scaling.
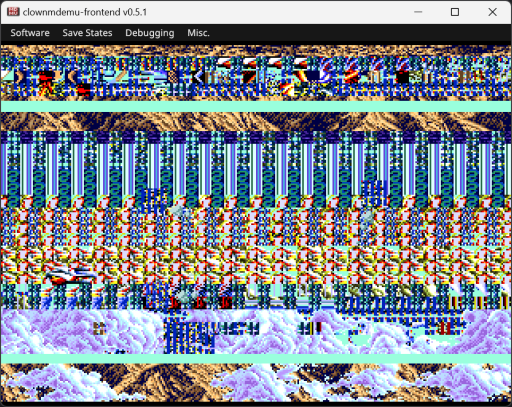
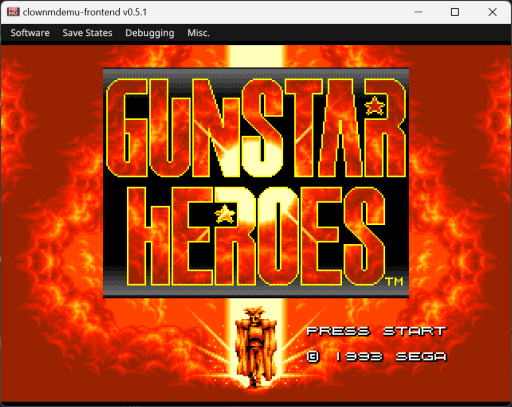
I also fixed the barebones 'save file' dialog, which has been broken since I first added it. Whoops. Now macOS users can save things properly.

Games that are dropped onto the emulator window are now added to the 'Recent Software' list.

Alt+Enter will now toggle full-screen. This is a fairly standard keyboard shortcut, so it may come more naturally than the default F11 key binding.

Various instances of stuck inputs have been fixed. No more infinite rewinding!

Finally, there's the emulator bugfix: sprites were being culled while they were still on-screen by one column of pixels at the right side of the screen. At first I mistook this for a bug in Sonic 2, which led me on a wild goose chase.

https://github.com/Clownacy/clownmdemu-frontend/releases/tag/v0.4.4
 

Clownacy

Member
Messages
21
[Blog post]

I've been thinking of expanding my Mega Drive emulator with support for the Mega Drive's add-on - the Mega CD. On paper, this should be simple enough to do: while the Mega CD adds a second 68000 CPU, communications ports, a lot of extra RAM, hardware for graphics-transformation, a sound chip, the titular CD drive, and a BIOS to manage it all, many of these can be skipped or implemented in a quick and easy way to at least get some games booting.

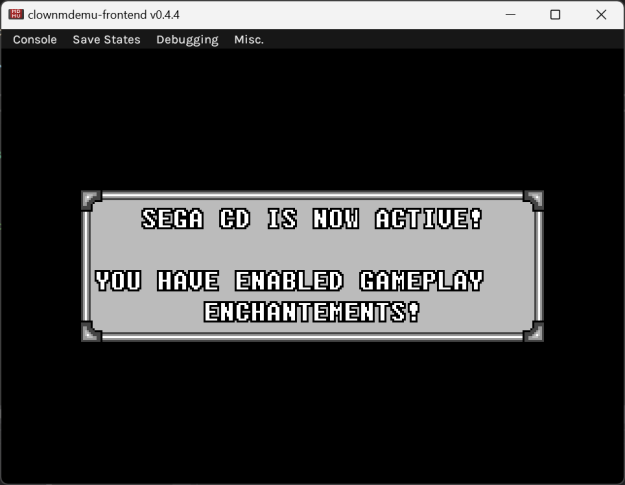
As of writing, I have achieved my first milestone, which is to get a couple of Sonic hacks to boot. These hacks are special because they make minimal use of the Mega CD hardware, making them the easiest software to add support for. One hack (Sonic Winter Adventures) can be seen below, declaring its detection and usage of the Mega CD:

image.png


Sonic Winter Adventures exclusively uses the Mega CD for playing music from a CD. The other hack, my old Super Sonic & Hyper Sonic in Sonic 1 hack, uses the Mega CD for playing PCM samples using the extra sound chip.

Unlike typical Mega CD games, these two hacks store their data on a cartridge instead of a CD. This bypasses the need for me to implement the Mega CD's boot-up process of reading the IP and SP binaries from the disc, and also the need to implement the various BIOS calls that are related to reading CD sectors.

Games that utilise the Mega CD hardware, but run from a cartridge, are called 'Mode 1' games. This is because of Sega's official Mega CD developer documents, which dub the cartridge-booting process 'Mode 1' and the CD-booting process 'Mode 2'.

Out of all of the Mega CD's hardware, the only things that these hacks rely on are the extra CPU, the communication ports, the extra RAM (and the bus logic that allows it to be accessed), the BIOS, and, in my Super Sonic hack's case, the extra sound chip. The sound chip and most of the BIOS can be stubbed-out to at least get the hacks to boot, leaving only the extra CPU, communication ports, RAM, bus logic, and some parts of the BIOS.

The screenshot seen above is the result of implementing these essential features. So, how did I do it?

The CPU (dubbed the 'SUB-CPU') is a 68000, just like the Mega Drive's main CPU (appropriately dubbed the 'MAIN-CPU'). Because of the modular design of my emulator's internals, the 68000 interpreter supports multiple states, allowing it to emulate two CPUs simultaneously. I just had to allocate a second state struct for this second CPU, and then add an additional call loop to invoke the interpreter using this struct for the duration of the emulated frame.

However, for this CPU to do much of anything, it needs some RAM. The Mega CD adds two sets of memory: WORD-RAM and PRG-RAM. PRG-RAM essentially belongs to the sub-CPU, and is intended to hold its BIOS and other code. WORD-RAM is shared between the main-CPU and the sub-CPU, typically being used to ferry data between the Mega CD's CD drive or graphics-transformation hardware and the Mega Drive. Because PRG-RAM is 'owned' by the sub-CPU, the main-CPU must request the sub-CPU's bus to be able to access PRG-RAM. This freezes the sub-CPU. This is not the case for WORD-RAM, which can be exchanged between the two CPUs freely without freezing either of them. WORD-RAM and PRG-RAM are massive: the Mega Drive has 64 KiB of RAM, while WORD-RAM and PRG-RAM add a further 768 KiB. Implementing this all is just a matter of adding the appropriate logic to the sub-CPU's bus event call-backs, accessing an array that represents either WORD-RAM or PRG-RAM based on the specified address, just like a real bus.

To allow the two 68000 CPUs to communicate, a couple of words are made available to both CPUs. Half of the words can be read and written by the main-CPU, but are read-only for the sub-CPU, and the other half are the other way around. No bus-requesting or exchanging is needed to access these.

That leaves the final part of the puzzle: to manage the complicated CD drive hardware (among other things), the Mega CD comes equipped with an elaborate BIOS. Notably, this BIOS features system calls for reading sectors from the CD and playing CDDA music. Software that runs on the sub-CPU is intended to be managed by this BIOS, meaning that a partial BIOS implementation is needed for the sub-CPU programs of these ROM-hacks to run at all. Without the sub-CPU program running, Sonic Winter Adventures will refuse to boot, as it will infinitely wait for a response from the sub-CPU to be sent through the communication ports.

Sub-CPU programs are loaded at address 0x6000 and come with a small header. This header features a magic number (string), a flag, and a couple of offset tables. One offset table specifies functions that will be called by the BIOS on start-up, after start-up, every vertical interrupt, and in response to a user-raised event. Without a functional BIOS, these functions will never be called.

An additional requirement for the BIOS is exclusive to Mode 1 games: because these games boot directly from a cartridge rather than the Mega CD's BIOS, the sub-CPU's portion of the BIOS is not automatically loaded, and instead must be loaded manually. The typical method for doing this is to locate a magic number, then decompress a nearby Kosinski-compressed payload which contains the sub-CPU BIOS. For these games to correctly boot in my emulator, this magic number needs to be present, and a dummy Kosinski-compressed archive need to be at the expected location. Without the magic number, the hack may not think that a Mega CD is attached at all, and, without the the Kosinski-compressed archive, the hack would crash as the decompressor would go haywire.

To meet these various needs, I created my own stub BIOS in 68000 assembly, compressed it in the Kosinski format, and had the sub-CPU's bus logic place it at the same location as the original BIOS's payload. This way, the hacks' Mode 1 initialisation logic and sub-CPU programs all run correctly.

With this done, Sonic Winter Adventures is able to detect the Mega CD, request the sub-CPU's bus, decompress the sub-CPU BIOS into PRG-RAM, release the sub-CPU's bus, reset the sub-CPU, run the sub-CPU program, and finally communicate with the sub-CPU to complete its boot process, resulting in the above screenshot. It's not much, but it's a start!
 
Top